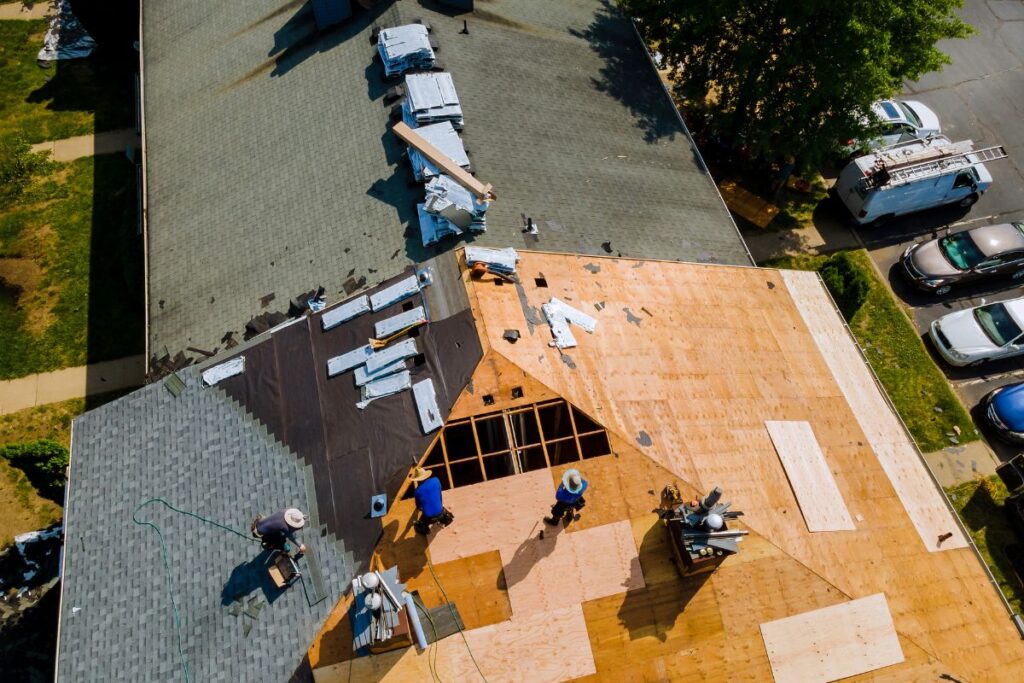
Dealing with a leaky roof can be frustrating, but with the right approach, it can be fixed effectively. Here’s a step-by-step guide to help you fix a leaky roof like a pro:
- Identify the Source of the Leak
Look for signs of water damage in your ceiling or attic. Follow the water stains or drips to find the source of the leak.
- Check for Broken or Missing Shingles
Inspect the area around the leak for any missing or broken shingles that could be letting water in.
- Inspect the Flashing
Flashings around chimneys, skylights, or vents often become a source of leaks. Check if they are properly sealed.
- Clear Any Debris from Your Roof
Clear leaves, branches, and other debris from your roof. These can trap water and exacerbate leaks.
- Use Roofing Cement to Seal Small Leaks
For small leaks, roofing cement can be a quick fix. Apply it to the underside of the shingle where the leak is coming from.
- Replace Damaged Shingles
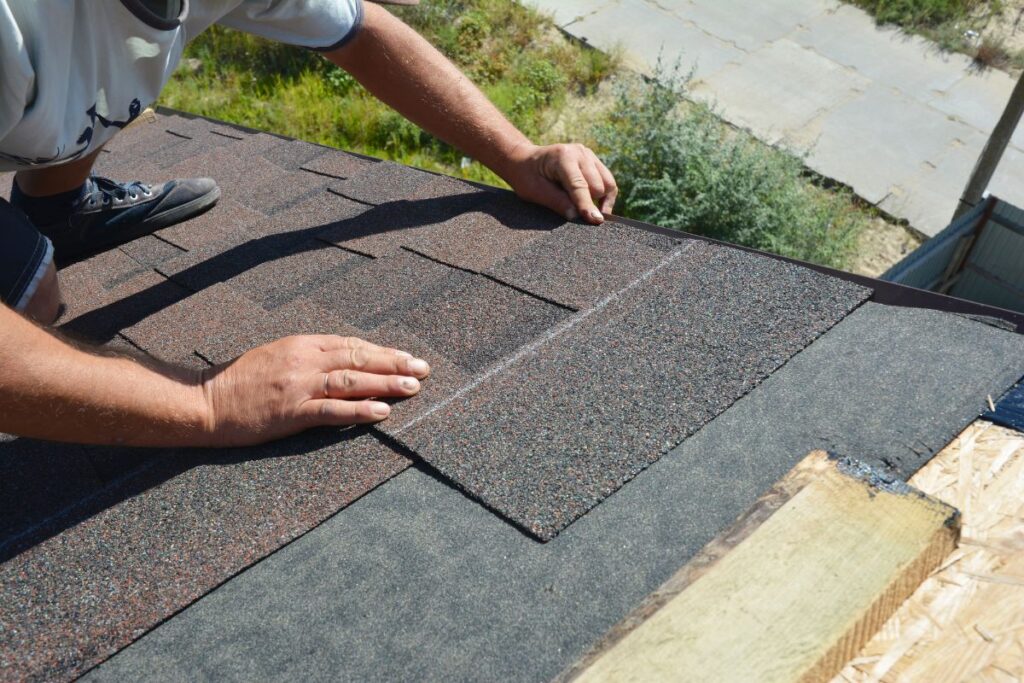
If you find any broken or cracked shingles, replace them. Pry up the old shingle, remove the nails, and then slide a new shingle into place.
- Apply Roofing Tar to Larger Leaks
For larger leaks, apply roofing tar underneath the shingle, then press the shingle against the tar.
- Repair Damaged Flashing
If the flashing is the source of the leak, remove the old flashing and replace it with a new one, sealing it with roofing cement.
- Apply a Roof Sealant
Apply a roof sealant over the repaired area for extra protection against future leaks.
- Monitor the Repaired Area
After fixing the leak, keep an eye on the repaired area to ensure the roof leak doesn’t reoccur, especially after heavy rains.
Remember, while these steps can help you fix minor roof leaks, it’s best to hire a professional for large or complex leaks. If you’re in New Zealand, the team at Kiwi Roof Masters is here to help. We offer comprehensive roof replacement services that will keep your home protected from the elements. Contact us today for a free quote.


